Assembling an AR15 can be an exciting and rewarding experience, but it’s important to ensure that it is done properly for both safety and functionality. In this blog post, we will provide a step-by-step guide for installing the charging handle and bolt carrier group on an AR15. Before we begin, make sure that you have the following tools on hand:
- AR15 upper receiver vise block or AR15 receiver clamp
- AR15 multi-tool or appropriate tools for specific tasks
- Grease or oil for lubrication
- Clean workspace
Installing the Charging Handle
The charging handle is responsible for pulling the bolt carrier group back and releasing it to chamber a new round. Here’s how to install it
Safety First:
Before beginning any work on your firearm, make sure that it is unloaded and that the magazine has been removed. Visually inspect the chamber to ensure that there is no ammunition present.
Remove Old Charging Handle:
Begin by removing the old charging handle from your AR-15. To do this, pull the charging handle to the rear of the receiver and then push the charging handle latch upward. This will release the charging handle, which can then be pulled out of the upper receiver.
Insert New Charging Handle:
To install the new charging handle, start by inserting the charging handle into the upper receiver from the rear. Ensure that the charging handle is properly aligned with the upper receiver and that the grooves on the charging handle are facing upward.
Install Roll Pin:
Once the charging handle is in place, insert the roll pin into the hole in the charging handle latch. Gently tap the roll pin into place using a punch and a hammer. Be careful not to damage the charging handle or the upper receiver during this process.
Check for Proper Function:
Once the roll pin is installed, check to ensure that the charging handle moves freely in the upper receiver and that the latch locks the charging handle into place. Test the charging handle by pulling it back and releasing it to ensure that it functions properly.
Reassemble Your AR-15:
Once you have installed the new charging handle, reassemble your AR-15 according to the manufacturer’s instructions. This may involve reinstalling the bolt carrier group, handguard, and other components.
Common mistakes to avoid:
- Forgetting to Disassemble Your AR-15: Before installing a new charging handle, it’s important to disassemble your AR-15 and remove the old charging handle. Failing to do so can result in damage to your firearm or injury to yourself.
- Failing to Lubricate the Charging Handle: The charging handle is a moving part that experiences a lot of friction. Failing to properly lubricate it can cause it to wear out quickly or fail to function properly.
- Incorrect Installation: It’s important to make sure that you install the charging handle in the correct orientation. The latch should be facing upwards and the handle should be facing towards the back of the rifle. Installing it backwards can cause it to not function properly and may even cause damage to your firearm.
- Over-Tightening: Over-tightening the screw that secures the charging handle in place can cause the handle to bind and not function properly. This can also cause damage to the charging handle itself.
- Forgetting to Test the Charging Handle: Once you have installed the charging handle, it’s important to test it to ensure that it functions properly. This can be done by pulling on the handle to make sure it moves smoothly and that the latch engages properly.
Installing a Bolt Carrier Group
Safety First:
As always, make sure that your firearm is unloaded and that the magazine has been removed. Visually inspect the chamber to ensure that there is no ammunition present.
Disassemble Your AR-15:
To install the bolt carrier group, you will need to partially disassemble your AR-15. Begin by removing the upper receiver and placing it in a secure location. Next, remove the charging handle and the bolt carrier group from the upper receiver.
Prepare the Bolt Carrier Group:
Before installing the bolt carrier group, make sure that it is properly lubricated wh a high-quality gun oil. This will help ensure that it functions properly and lasts for a long time.
Install the Bolt Carrier Group:
Start by inserting the bolt carrier group into the rear of the upper receiver. Ensure that the bolt carrier group is properly aligned with the upper receiver and that the gas key is facing downward. Then, slide the bolt into the bolt carrier group and rotate it until the locking lugs are aligned with the barrel extension.
Install the Charging Handle:
Once the bolt carrier group is installed, reattach the charging handle to the upper receiver.
Reassemble Your AR-15:
Finally, reassemble your AR-15 according to the manufacturer’s instructions. This may involve reinstalling the handguard, lower receiver, and other components.
Common mistakes to avoid:
Failing to Clean Your AR-15:
Before installing the BCG, it’s important to thoroughly clean and lubricate your AR-15. Neglecting this step can cause issues with the installation and result in damage to your firearm.
Installing the BCG in the Wrong Direction:
The BCG has a specific orientation that must be followed during installation. Failing to do so can cause malfunctions and may even result in damage to your firearm. Be sure to align the gas key properly and insert the BCG with the bolt facing the correct direction.
Over-Lubricating:
While it’s important to lubricate your AR-15 before installation, it’s equally important to avoid over-lubricating. Too much lubrication can cause the BCG to bind or function improperly, which can be dangerous.
Over-Tightening the Bolt:
Over-tightening the bolt carrier group can cause issues with the function of your firearm. It’s important to torque the bolt to the manufacturer’s specifications and to avoid over-tightening it.
Failing to Test the BCG:
Once you’ve installed the BCG, it’s important to test it to ensure that it functions properly. This can be done by cycling the bolt and checking for smooth, consistent movement. You should also check the gas key to ensure that it’s properly aligned.
Necessary tools
Armorers Wrench:
An armorer wrench is a specialized tool that is used to install and remove barrel nuts, castle nuts, and other specialized AR-15 parts. It is an essential tool that you’ll need for installing the charging handle and bolt carrier group, as well as for other AR-15 maintenance tasks.
Roll Pin Punch Set:
A roll pin punch set is a set of small, specialized punches that are designed to fit inside the roll pin that holds the charging handle in place. Using a roll pin punch set can make it much easier to remove and replace the charging handle without damaging the roll pin or the handle.
Needle-Nose Pliers:
Needle-nose pliers are a versatile tool that can be used for a variety of tasks during the installation process. They can be used to install small pins, remove springs, and manipulate other small parts that may be difficult to handle by hand.
Screwdriver Set:
A set of screwdrivers will come in handy when installing the bolt carrier group. You’ll want to make sure that you have both flathead and Phillips-head screwdrivers in a variety of sizes to ensure that you have the right tool for the job.
Vise and Block: If you have access to a vise and a block, it can make the installation process much easier. A vise will allow you to hold the upper receiver steady while you work on it, and a block will help to keep everything properly aligned during the installation process.
The Trojan Firearms Difference
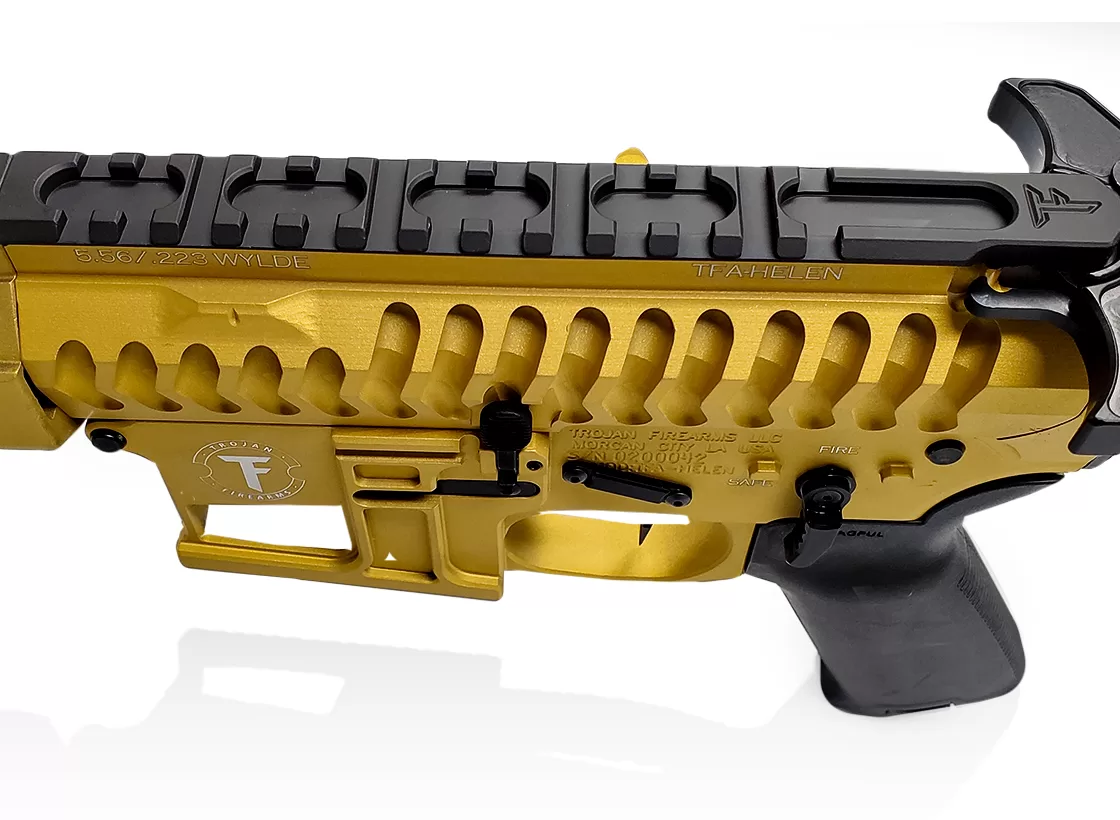
Trojan Firearms is a company that specializes in producing high-performance parts for firearms. One of their most popular products is their Complete Ambidextrous Charging Handle, which has been designed with oversized handles and a low profile taper to ensure that it is ergonomic and functional for both left and right-handed shooters. This proprietary design is CNC machined from 6061-T6 aluminum and then Type 2 hard anodized for durability and longevity.
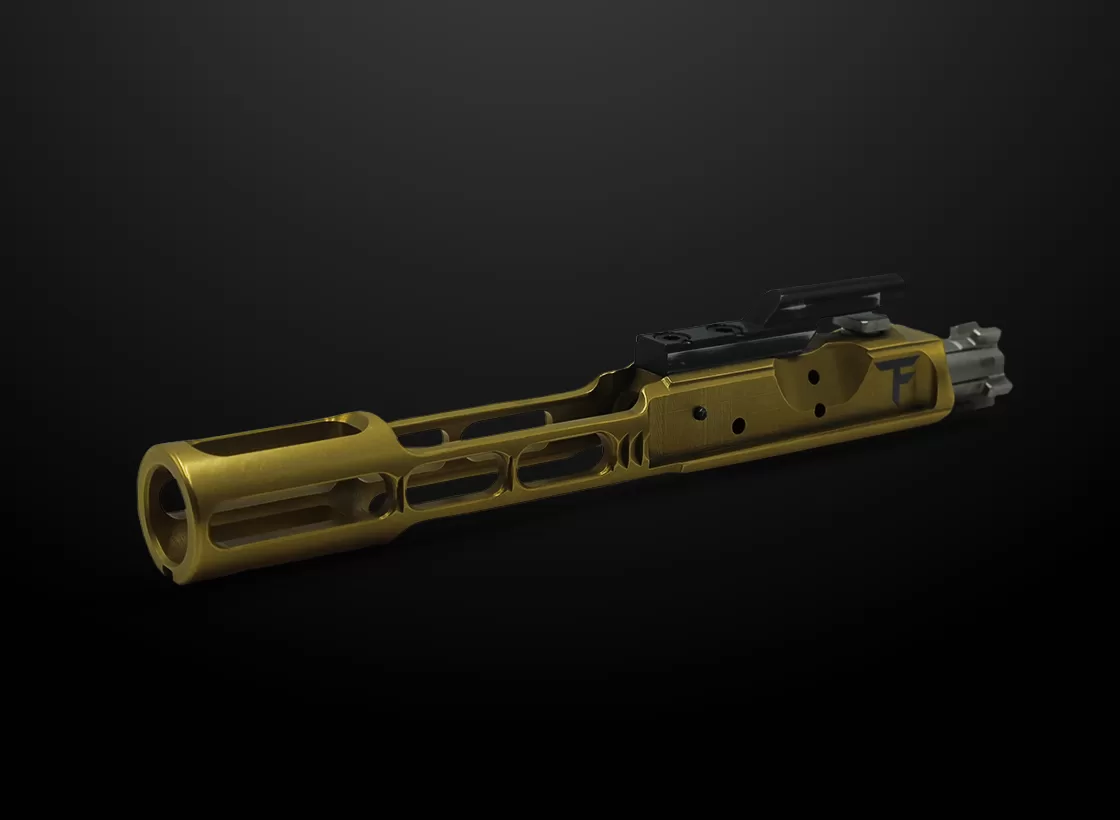
Trojan Firearms also offers a Complete AR15 223/5.56 Drop-in Bolt Carrier Group. This Bolt Carrier Group includes a Bolt & Extractor (5.56/.223 compatible) Nickel Boron Coated, a Bolt Carrier that is Titanium Nitride Coated, an Extractor, a Cam Pin, a Carrier Key, and a Firing Pin. The proprietary design is made from 8620 Steel, making it lightweight at just 5.8 ounces, compared to 11.6 ounces for a Mil Spec M16 BCG. The Titanium Nitride TiN Bolt Carrier provides increased wear resistance and lubricity, while the Nickel Boron coated Bolt ensures easier maintenance and reliability. The bolt is made from 9310 steel and is HP and MP tested, while the gas key is made from 4130 steel.


